Step 1: Examining the Paint Condition for Scratches, Swirl Marks & Paint Defects
Most likely your vehicle’s paint is not perfect and will require some level of paint correction, but before we start, we must examine your paint condition. To do so we are going to need plenty of light. If you’re in a shaded area or garage feel free to use a flashlight, if you’re outside try using the sun to your advantage. Move your flashlight back and forth over your painted surfaces and pay close attention. You’ll notice spider webbing, also known as swirl marks, or maybe even deeper sub surface scratches throughout your painted surfaces. Imperfections will be much more noticeable on dark colored paints (black) compared to light colored (white).
Step 2: Two Step vs One Step Correction
Two Step Paint Correction
If your paint is in very bad condition with a lot of swirl marks & deep scratches you might have to perform a heavy cut compounding stage & then finish off with a lighter cut polish. This paint correction process is referred to as the two step correction. Think of your pad & polish combo as sandpaper, the heavier the cut of pad & polish the more scratches and swirls you’ll be able to remove. But the heavier the cut the higher the risk of leaving behind hazing, which is the result of an improper finished paint surface. Due to the heavy cut polishing stage leaving behind hazing, you would have to finish it with a lighter cut polish. It is the same concept as starting out with 1000 grit sandpaper and then moving on to 2500 grit. The lower the grit level the rougher the surface, the higher the grit level the smoother the surface. Imagine your compound as your 1000 grit sandpaper while your polish is your 2500 grit. The smoother and more level a painted surface is, the more light it can reflect causing more gloss, shine and clarity. A properly performed two step correction can remove upwards of 80% of defects & scratches depending on paint type & condition.
One Step Paint Correction
Quite often a quality medium cut polish with a quality cutting pad can remove over 60% of swirls and defects, all while leaving little to no hazing on the paint. This is referred to as the one step polishing process. The one step polishing process is a great beginner option because you only need one type of pad and one type of polish, allowing you to get great results in half the time of a two step. You may have deeper scratches left over, but the majority of swirl marks & light defects can be eliminated using this method.
Step 3: How to Polish Your Paint
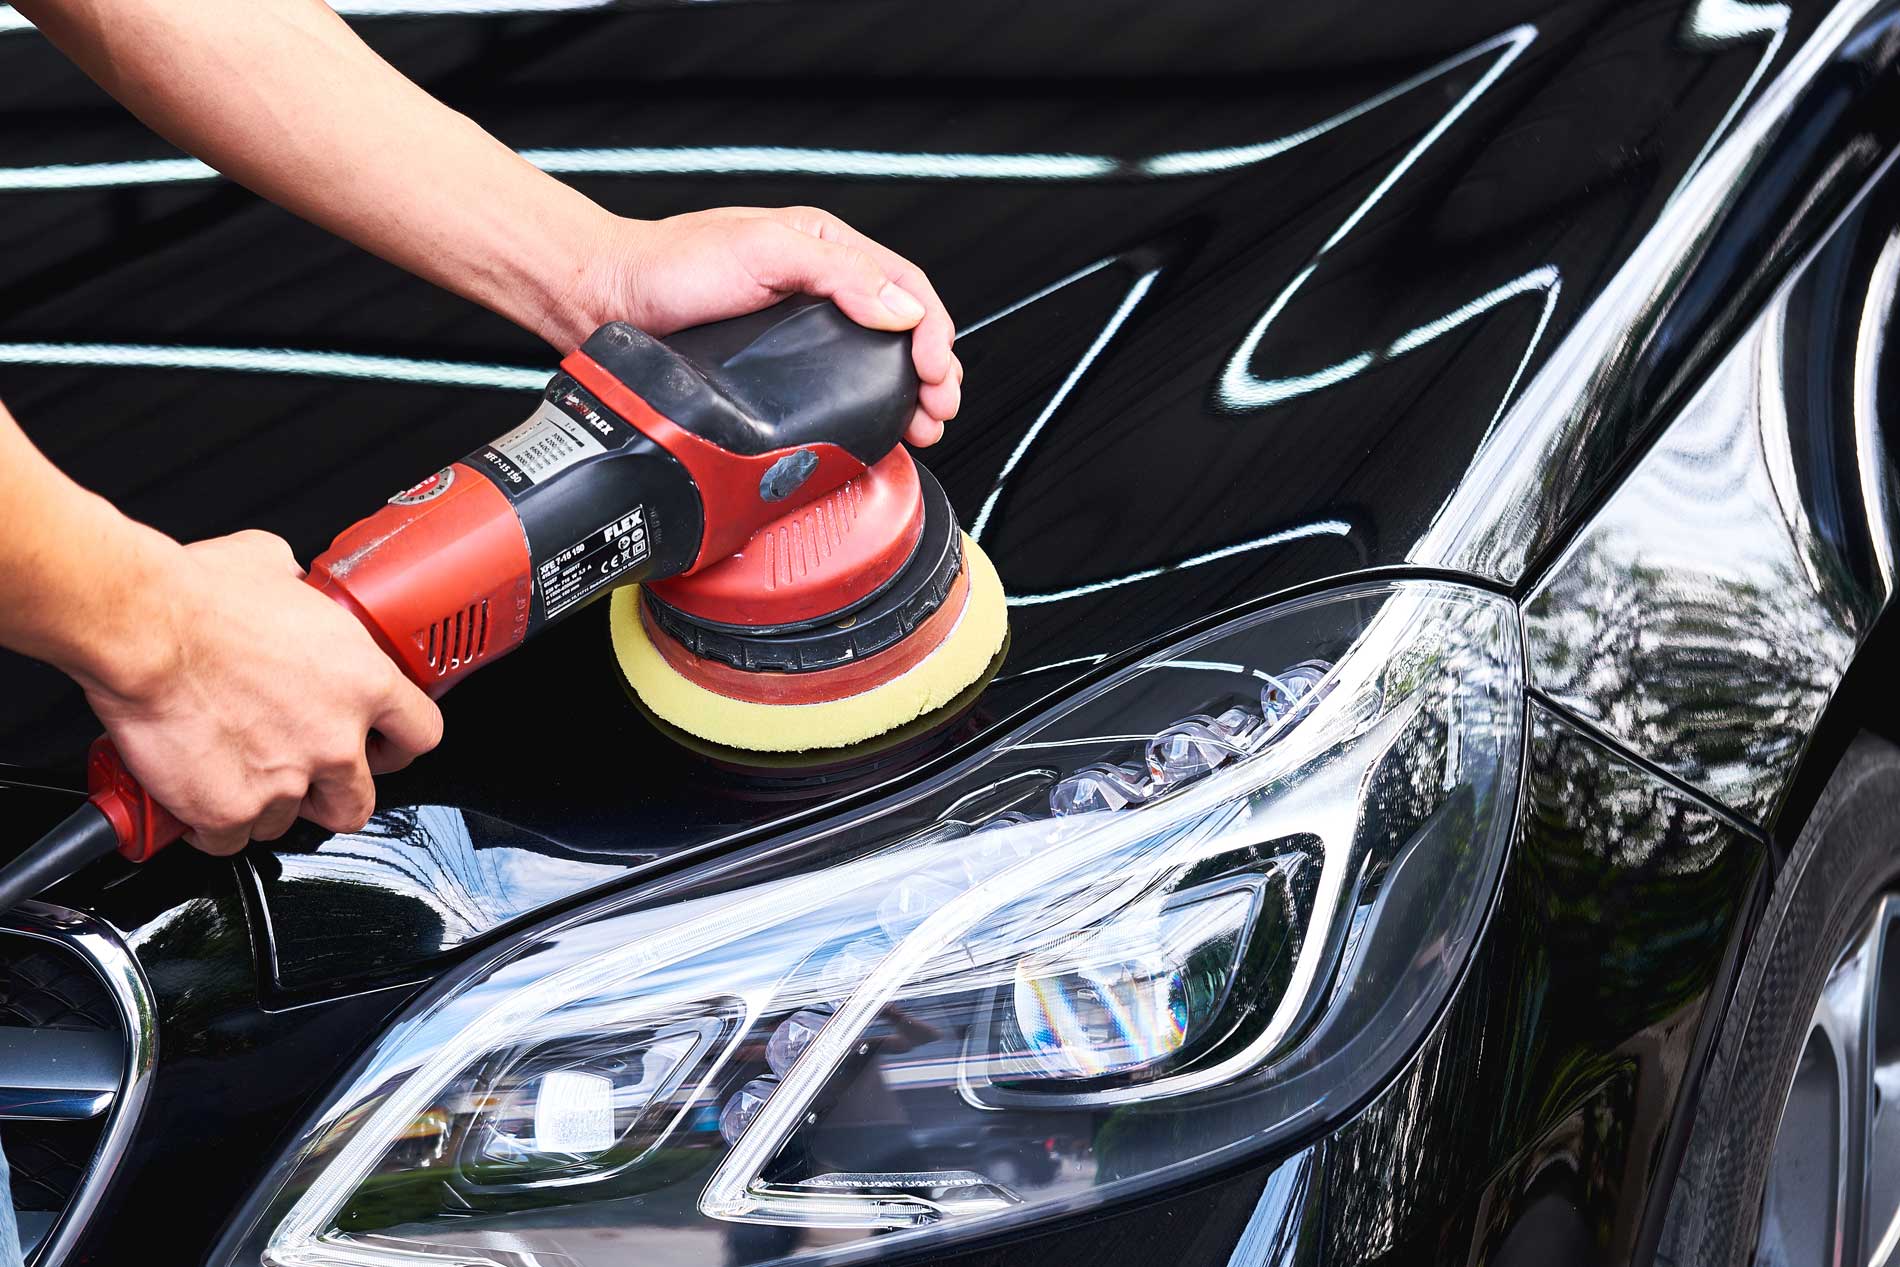
Machine Polishing will eliminate most if not all paint imperfections such as scratches & swirl marks. It also creates a deep gloss and shine that everyone wishes to have. There are three main tools on the market that will help you achieve this deep glossy finish; the Dual Action Polisher, Forced Action Polisher and the Rotary Polisher. We will focus our efforts on the DA polisher since it is the most beginner friendly regarding both skill set & price point. The DA polisher almost eliminates the fear of burning through paint because it rotates & isolates freely in random orbital motions! Not only is it safe to use but it’s typically lighter & easier to use compared to its counterparts.
For the sake of simplicity will be going over the one step polishing process. A medium cut pad & a medium cut polish will be a great balance of cut and finishing! Take your pad and attach it to your polishers backing plate, you want to make sure the pad and backing plate are perfectly aligned so your machine is well balanced. Following, apply about 4 pee size drops of your preferred choice of polish around the pad, then gently place the pad & polisher on your paint. Turn on your polisher at its lowest setting and spread out your polish. Work in small 3×3 sections at a comfortable speed, light pressure, using slow straight overlapping passes. After 3 to 4 passes, turn off your polisher while the pad is still on the paint (don’t remove the pad & polisher until it has completely stopped). Buff off the polish residue and examine your results. You should see a substantial difference between your before & after. If satisfied, continue the process until the whole vehicle is complete.


Leave a Reply