Step 1: How to Clean Wheels & Tires
All Purpose Cleaners are great for rubber & plastics like tires but can be risky when utilized on rim surfaces. We recommend getting a quality dedicated wheel & tire cleaner to properly & safely remove brake dust. Spray your cleaner on the surface of your tire & rim and let it dwell as recommended by bottle directions. If your wheels are not heavily soiled you may get away with spraying a quality wheel cleaner, letting it sit, and rinsing away brake dust with your hose or pressure washer.
Step 2: The Pre-Wash
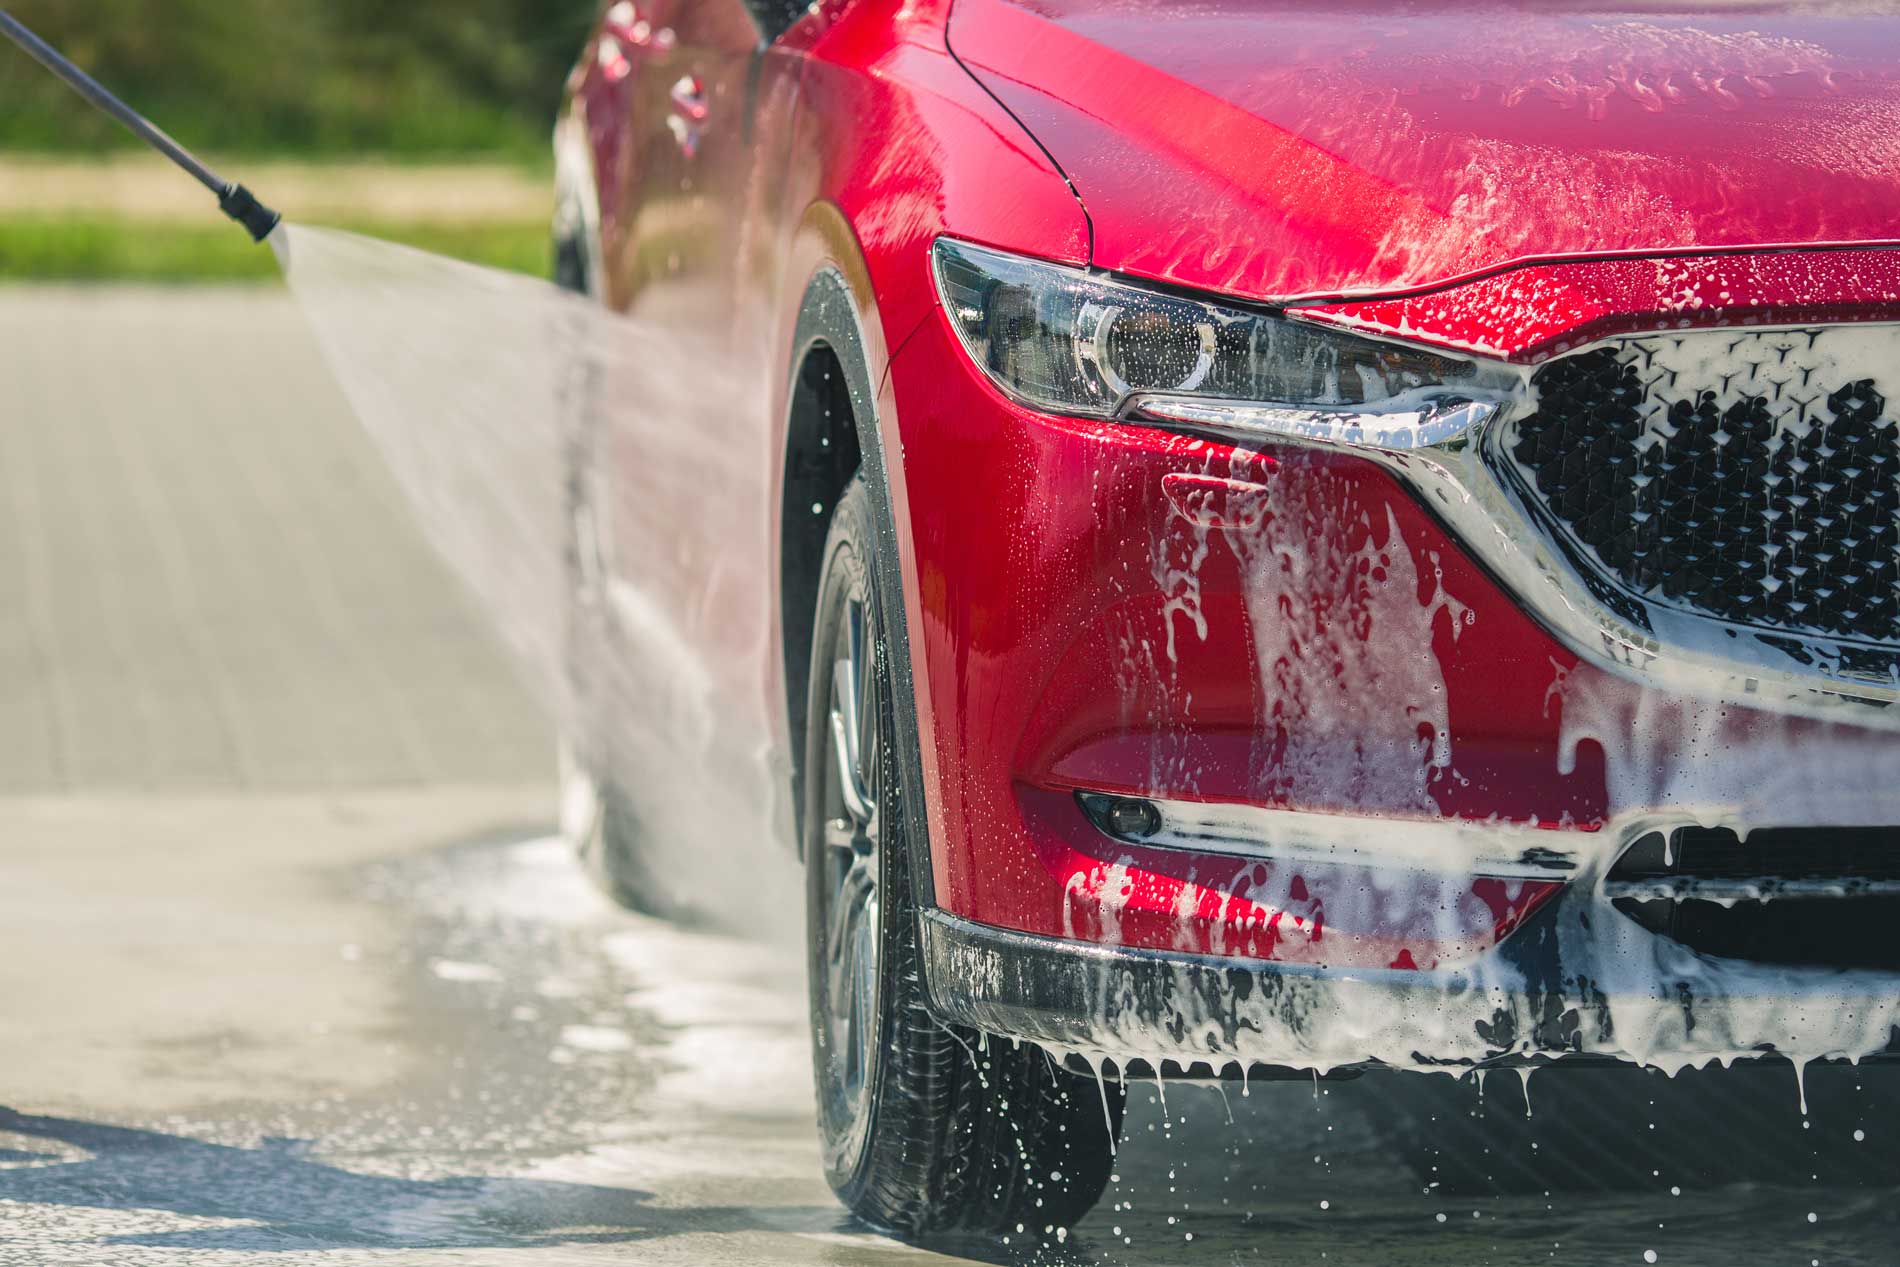
The Pre-Wash stage is great in removing the large build up of surface contamination from your vehicle prior to you contacting it with your wash mitt. The more dirt you can remove from your car without physically touching it, the safer your wash process becomes. Using a foam cannon is the recommended procedure, and it looks cool! Take a few oz of your car wash soap and mix it with water in your foam cannon reservoir. Then proceed to foam down your vehicle with your foam cannon, let the foam solution dwell on the surface for a few moments. If no foam cannon is available, completely rinse your vehicle with a strong stream of water from your garden hose or pressure washer and move on to the next step.
Step 3: What Should You Use to Wash Your Car?
When most people think of washing a car they think of a traditional sponge. The problem with sponges is that they can capture and hold things like dirt and grit in their large pores. Despite your best efforts to clean the sponge, some contaminants will stay embedded. It can be similar to washing your car with sandpaper and can result in many micro scratches in the paint. Pro detailers use a microfiber car wash mitt because the grit should fall out when you rinse. The two bucket wash method is one of the best ways to wash your vehicle. Fill both buckets with fresh water then take your first bucket and apply the recommended amount of car wash soap via directions on the bottle, making it nice and soapy (this will be your wash bucket). The second bucket will be left with clean water and will be used for rinsing your wash mitt. We recommend the use of grit guards in each bucket, this will help keep any large contamination and dirt particles trapped at the bottom of your bucket and prevent mixing with the cleaner water on top.
Step 3 Cont’d: Top to Bottom
To avoid dragging dirt from the bottom (dirtiest part) of your vehicle to the top (cleanest part), follow the top to bottom method. Start washing your car from top to bottom in straight line motions, making sure to rinse you wash mitt in your rinse bucket then get more soap solution from you wash bucket after each panel. If it’s warm outside, make sure to work quickly so your soap solution doesn’t dry on your vehicle’s painted surfaces. If it does dry just apply more soap solution from your wash bucket and continue. After you repeated these steps around the whole car rinse of all the soap solution with your hose or pressure washer.
Step 4: Proper Drying Methods
A high-quality drying towel is one of the most popular drying methods in the industry. A quality drying towel can be found online for very little cost and will do a great job drying your car after your wash. Take your towel, fold it to an easy to handle size and lightly drag it across all exterior surfaces making sure to pick up as much water as possible. Repeat this process until the vehicle is completely dry.
Step 5: Chemical & Mechanical Decontamination
After washing & drying your vehicle take the back of your finger and drag it across your hood, most likely you will feel a rough surface, similar to sandpaper. Paint is just like your skin, it’s porous with many imperfections. Over time above surface contaminants such as brake dust, rail dust and industrial fallout get embedded in the paint. Below surface contaminants such as airborne chemical compounds and ferrous particles (iron) can penetrate the paint and create corrosive, paint-eating compounds. Imagine the decontamination processes like skin exfoliation, we need to remove that contamination to make it nice and smooth. If your paint is smooth after the wash process you can skip this step. Begin by applying a dedicated iron and tar removing solution to each panel and letting it sit. Rinse off with your hose or pressure washer. Next, take your clay bar and spray some quick detailer or dedicated clay lube on both the clay and the surface of the vehicle. Work in 2×2 – 3×3 sections and lightly scrub the surface in up & down motions with the clay. You will notice the surface become smoother after each pass. After you feel little to no contamination buff off your quick detailer or clay lube. Continue this process on both the paint & glass surfaces of your car until complete.


Leave a Reply